Quick Synopsis: We applied copper coat to the hull of our 1981 Valiant 40. After a test of two months in tropical, fertile water of Thailand and Malaysia, we are happy with the results. See a full synopsis of procedures, outcome and costs below.
Symptoms Demonstrating Need For Repair
When we purchased Sonrisa, the prior owners indicated they had taken her bottom paint down to gel coat and had applied new barrier coat in 1995. Since that time, they had applied soft ablative paint every two years or so. After purchasing Sonrisa, we hauled her out just prior to cast off in fall of 2015 for a new application of soft ablative paint. We painted again at the beginning of the 2017 season in Tonga, and by the time we reached South East Asia, that soft ablative had run it’s course leaving us scraping the hull every week in the sometimes murky and (very) fertile waters of Malaysia and Thailand. When we hauled the boat in the yard and inspected the bottom, we determined there had to be 10-12 different colored layers of soft ablative, each of those being a couple coats each. It was time to take the paint back to gel coat again, inspect the bottom for any osmotic blistering, and then repaint.
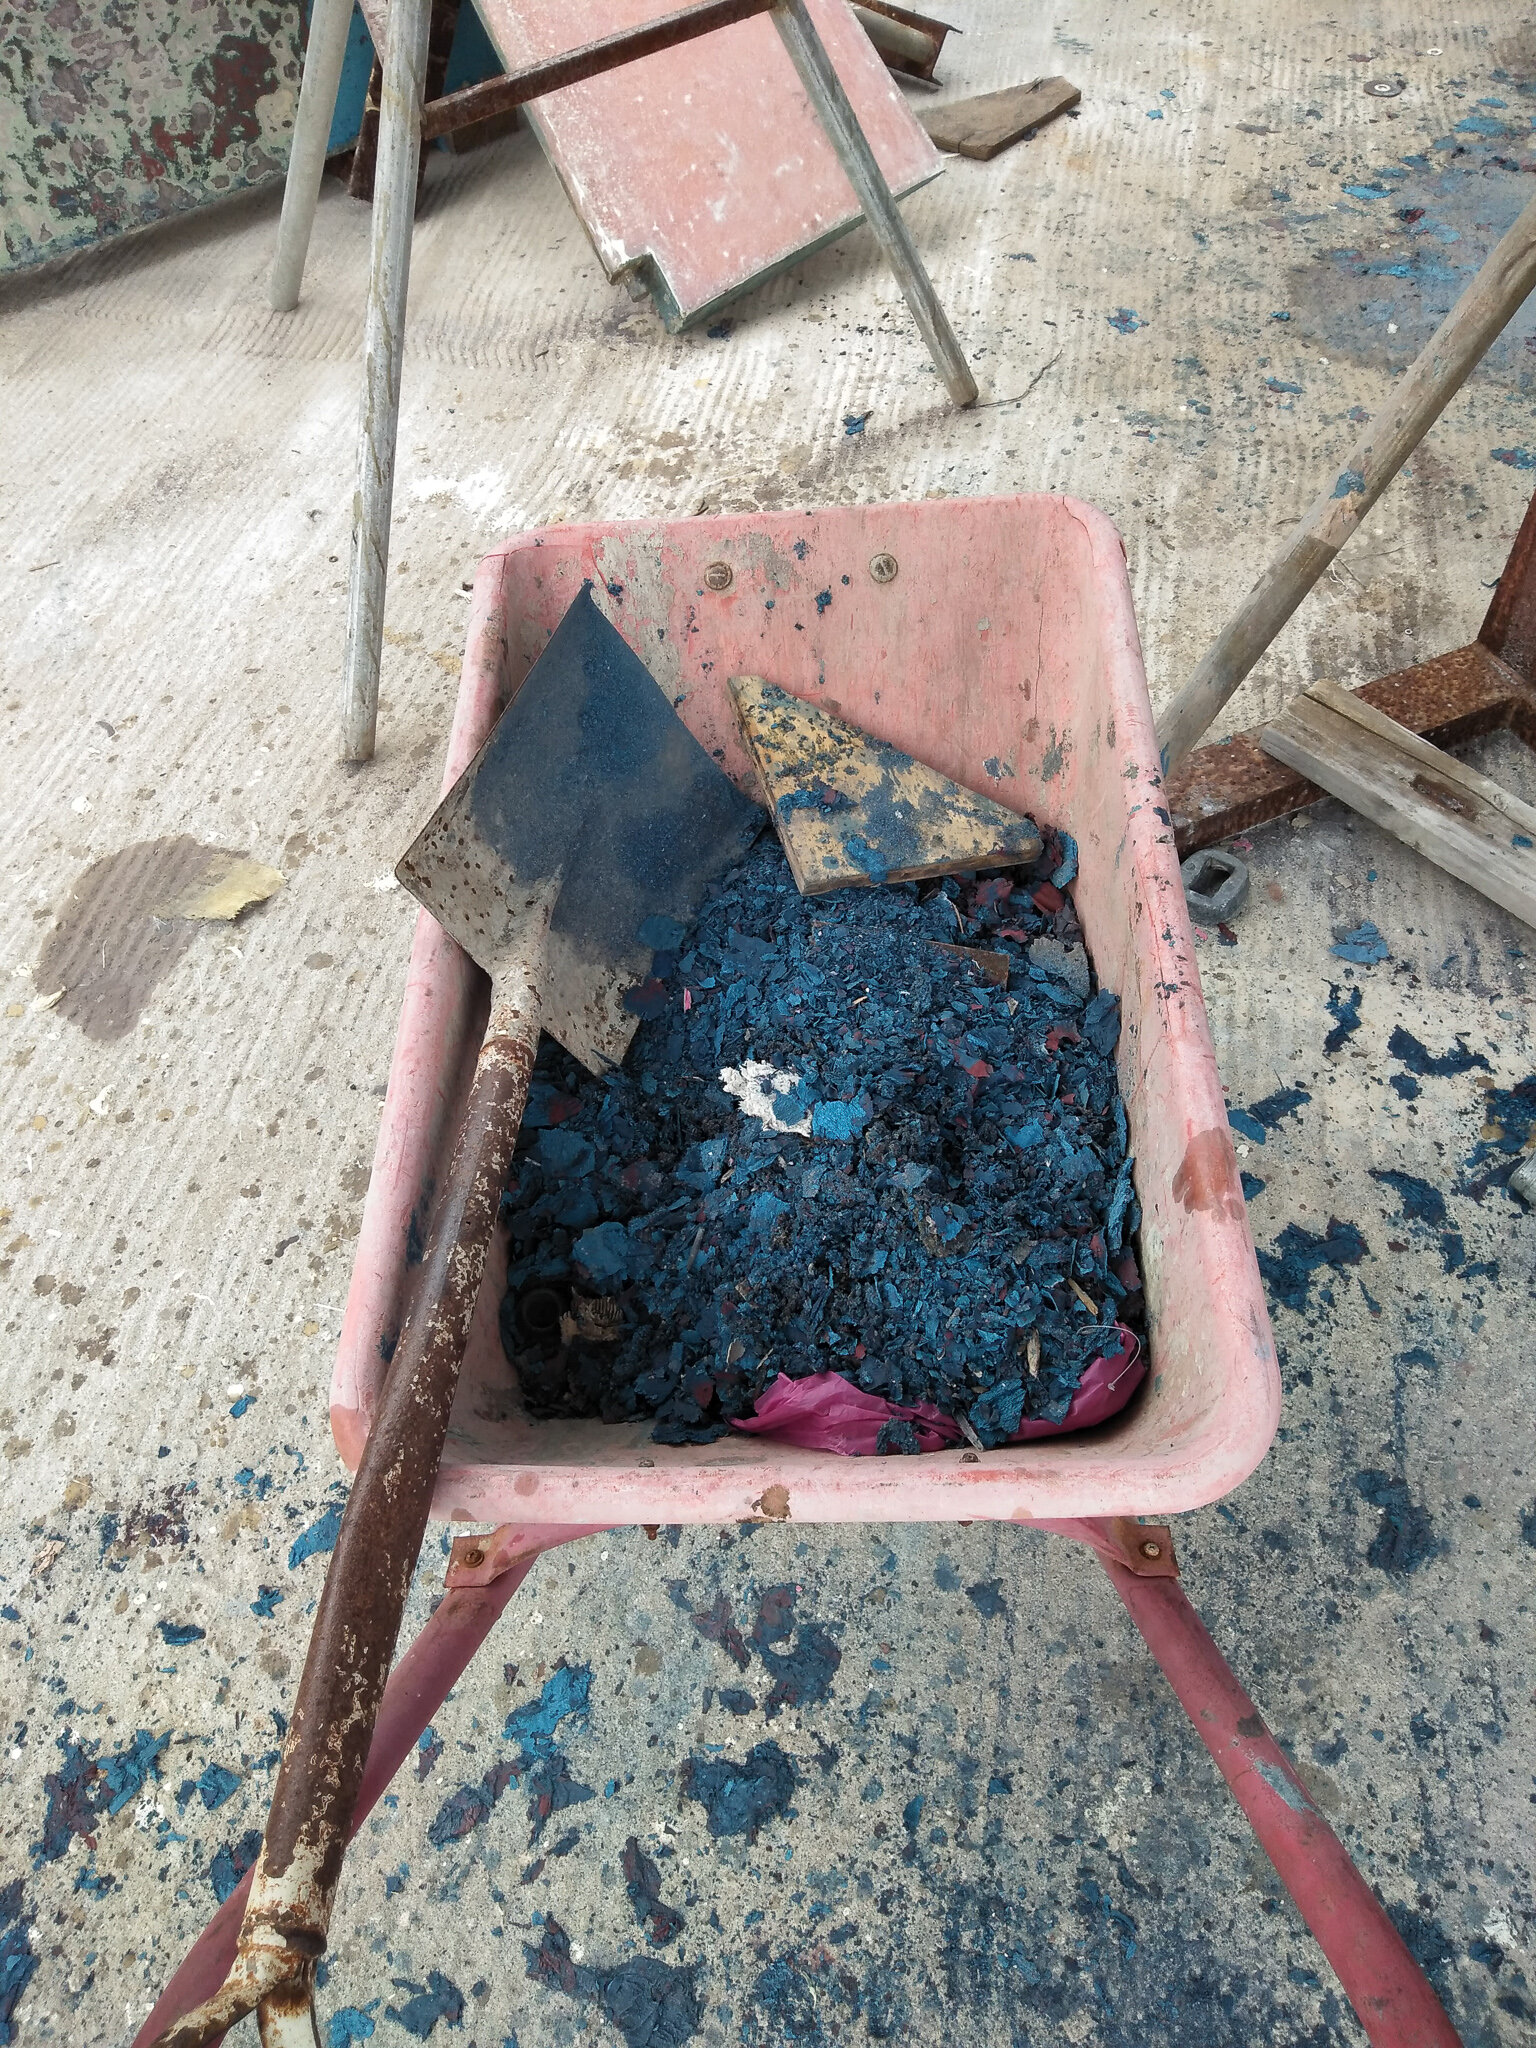
We took off multiple WHEELBARROWS full of old ablative paint!
Planned Strategy
We considered several options of paint, including reapplication of soft ablative, as the ablative had been handling our sailing circumstances well. Because we keep moving fairly often, it seemed the soft ablative would stay almost completely clean through the first year of application, and it hung in there with monthly cleanings through the second year. However, it’s effectiveness drops off sharply after two years, maximum. Applications of soft ablative usually run around $200 for the paint, $400 for labor, plus the cost of a haul out - which presumably we would never be doing for bottom paint alone, but it’s possible. In addition, soft ablative is ruined and unusable any time you haul out and let it dry. Therefore, in the 2016-2017 season, our soft ablative was not completely used up, but because we had to haul out in Tonga for cyclone season, the paint was ruined and we had to repaint early.
When we considered Copper Coat, we were drawn to it’s intended longevity (5-10 years), and hauling the boat out of the water does not ruin the Copper Coat. We reviewed the information available on Copper Coat’s website, as well as the significant amount of grousing on Sailing Britican’s website, and we determined this is one of those boat maintenance items over which we had to maintain control over the process to make sure it goes all right.
Oddgodfrey Rule of Boats #4:
You can pay someone $3,000 to break your boat, or you can break your own boat for free and learn something in the process. Larry Folsom - Sailing Mentor Extraordinaire
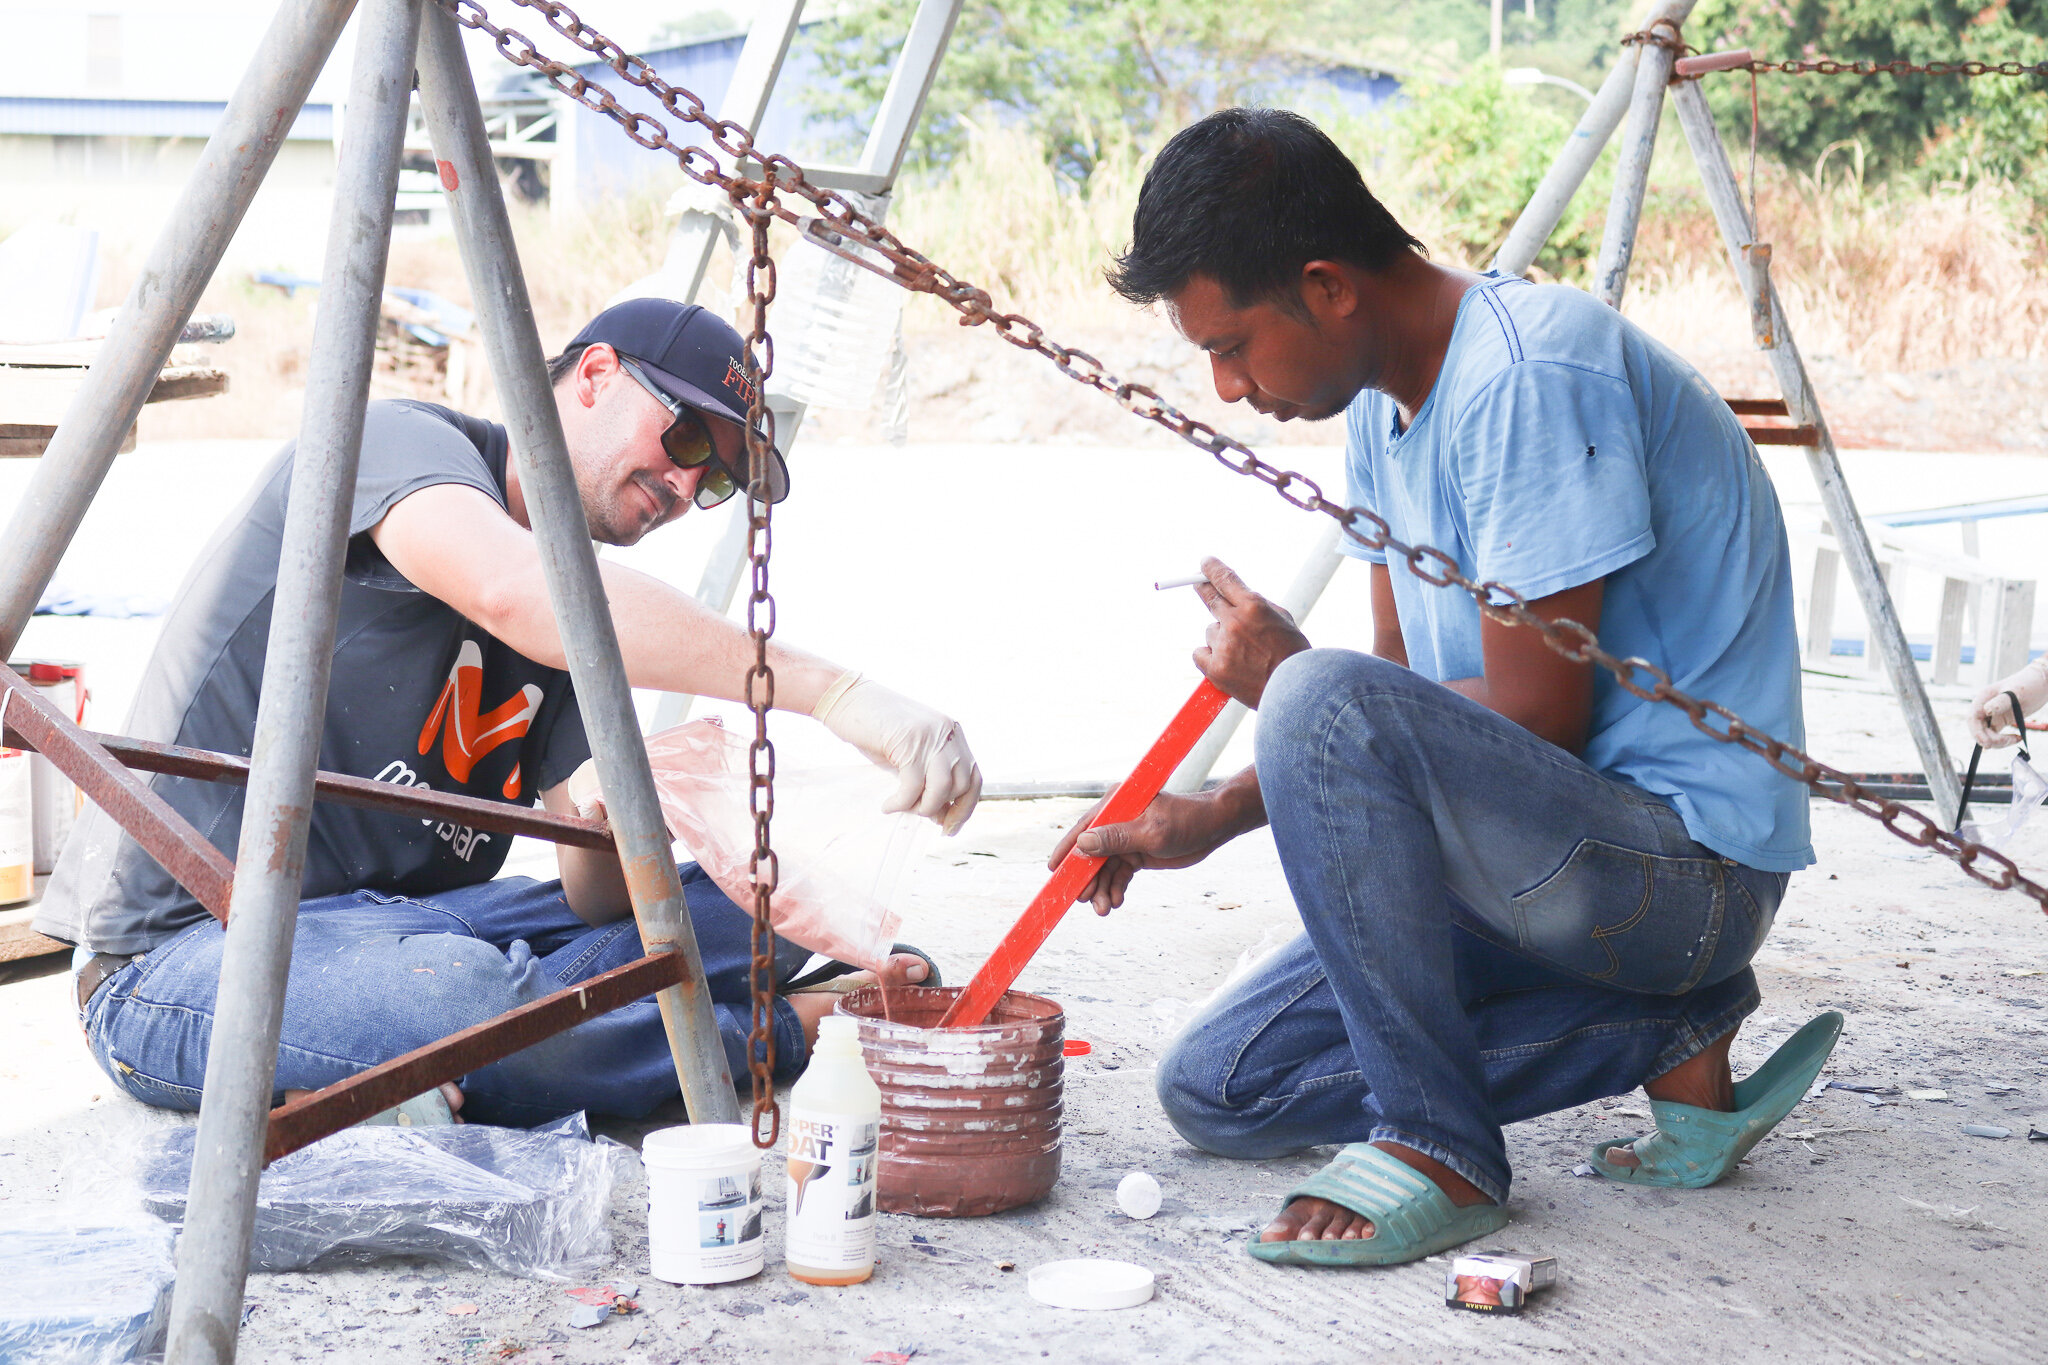
So, we studied the intended application process on Copper Coat. Warnings abound that if the Copper Coat gets rained on before it cures, the copper will wash away and you will be left with nothing but a normal hard epoxy barrier coat. Knowing what we already know about epoxy resin application, we figured the Copper Coat will likely kick and cure faster in the tropics than the instructions say. We took these two potential issues into account and hired three additional painters to assist Andrew in application while I stood by to stir the copper coat solution while the painters painted.
Our goal was to make sure the Copper Coat was applied as smoothly as possible. If you get significant “orange peel texture” you will have to do significant sanding to make the Copper Coat effective. This is because the copper is encased in epoxy resin until you sand it. If you have “peaks and valleys” in your paint texture, then the copper located in the “valleys” will remain encased in epoxy and it will not work well to stop growth in the water.
With this goal in mind, it seemed important to (1) prep the surface of the bottom to be as smooth as possible; and (2) control the application of the paint to be as smooth as possible is important. Other sailors have used spray application with good success. We did not have access to a sufficient spray gun, so we were going to have to roll the paint.
Process
Paint Removal and preparation
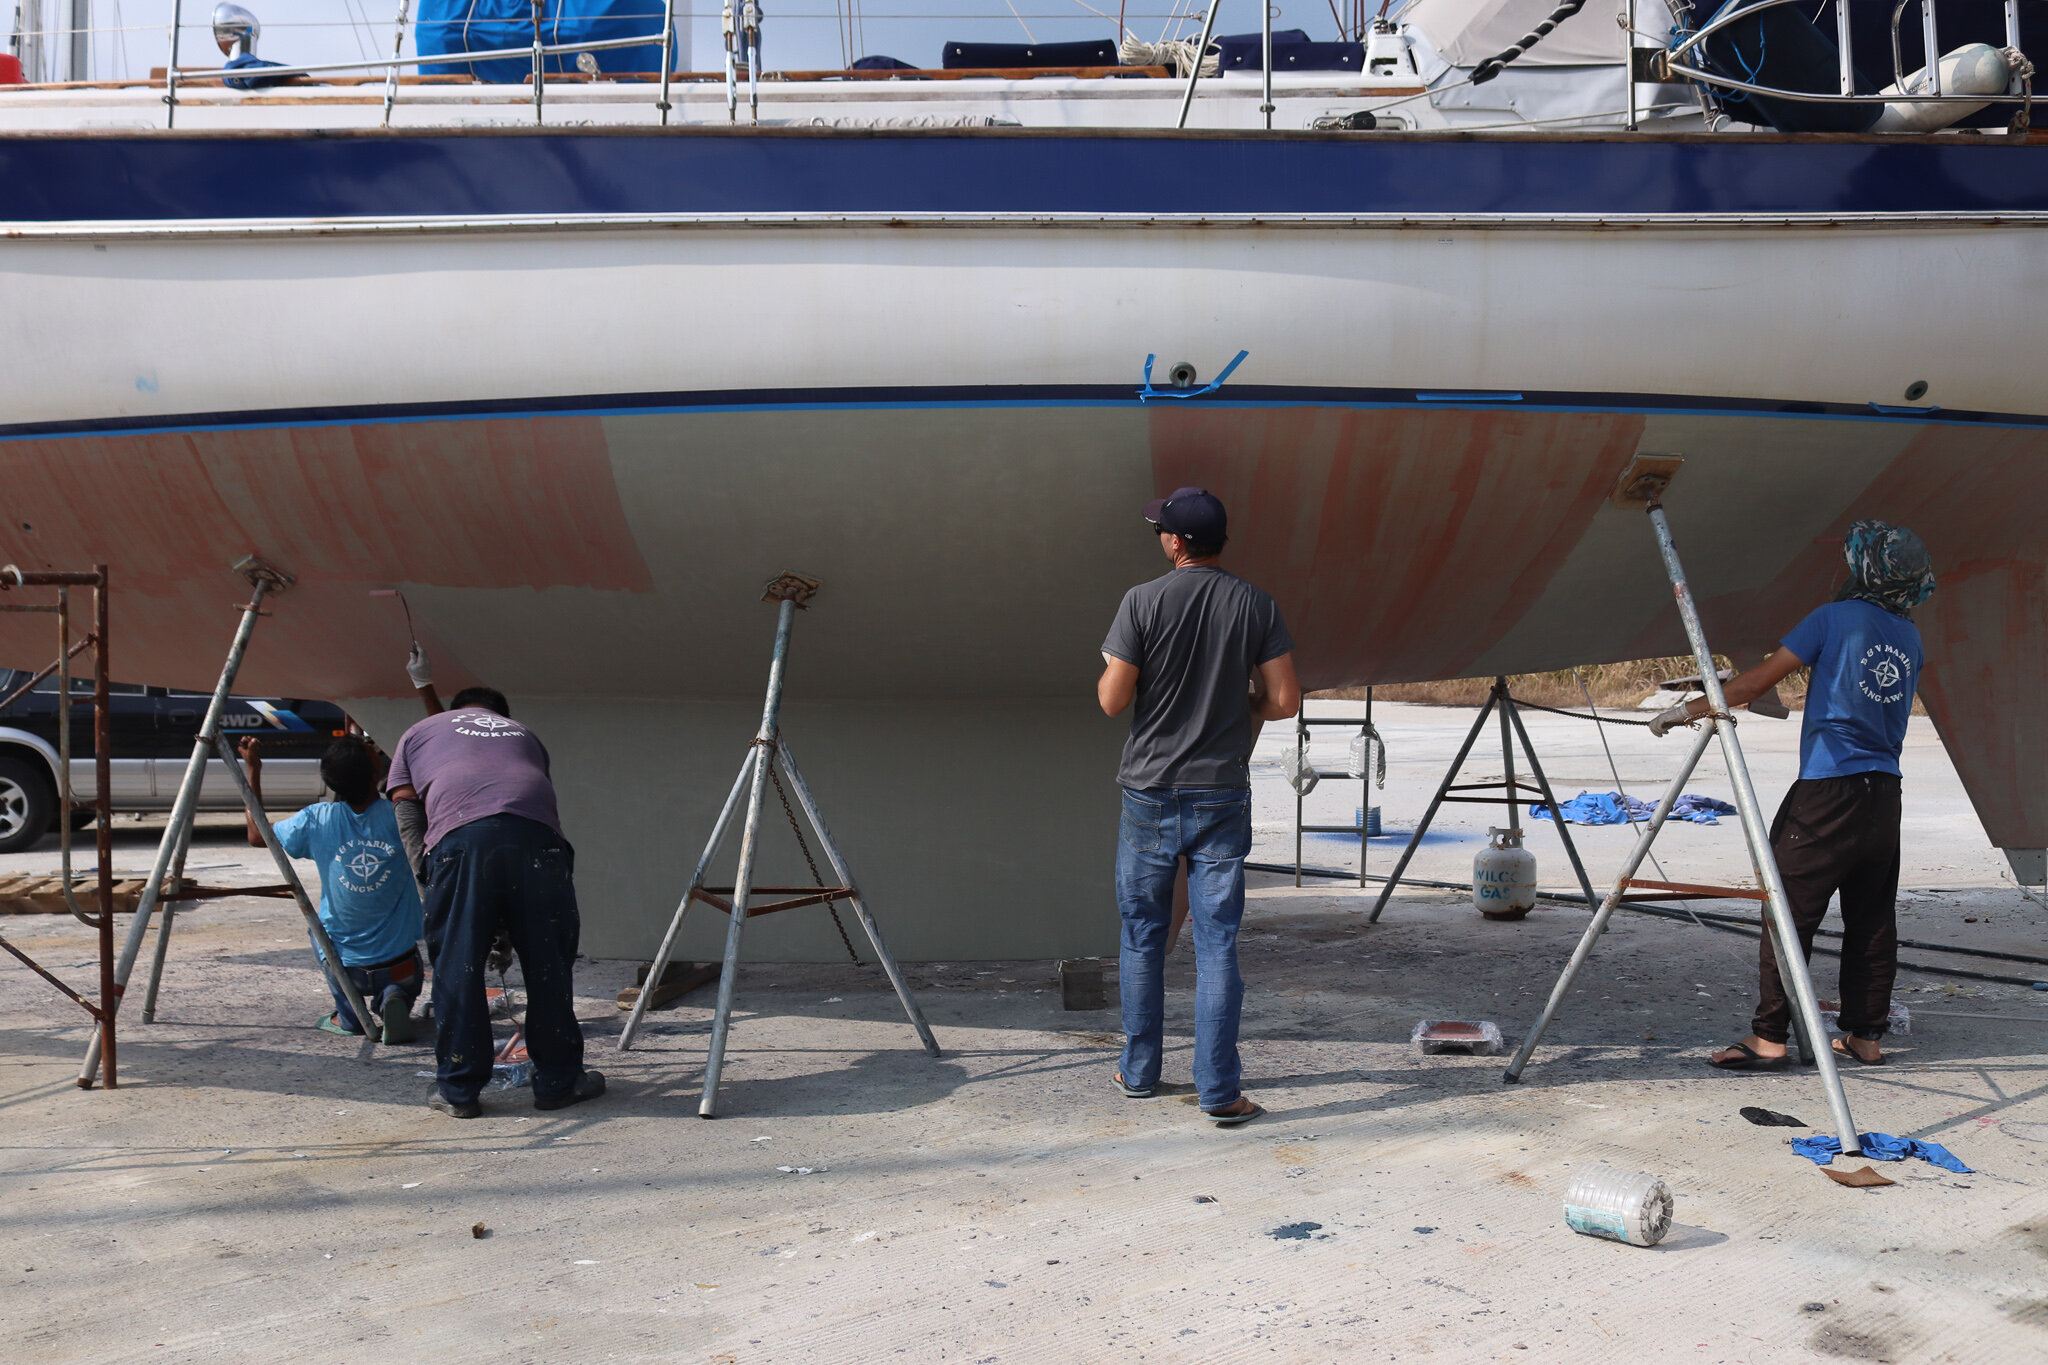
Andrew attempted to sand off the 10 layers of ablative paint himself, and was making (very) slow progress. Since his goal was to complete a full refit in five months, he decided his time was better spent elsewhere, and he hired two yard workers to remove the paint and sand off the old epoxy barrier coat. This took a total of two weeks to strip the hull bare.
After that, Andrew inspected the bottom for osmotic blistering and found minimal problems in that regard. He removed a couple unneeded through hulls, and completed fiberglass repairs for the handful of minor blisters and the through hulls to make the hull as smooth as possible. He completed the keel refit and fared the keel smooth into the rest of the hull before attempting to paint the bottom.
We applied a traditional epoxy barrier coat, then washed it with soap and water to remove any amine. We sanded this barrier coat smooth. and washed with water again. The smoother the base, the smoother the Copper Coat, and the easier the final sand will be. According to Copper Coat, the smoother the application, the better the performance you can expect.
Painting
We applied coppercoat to Sonrisa at B&V in Langkawi in August (ie rainy season).
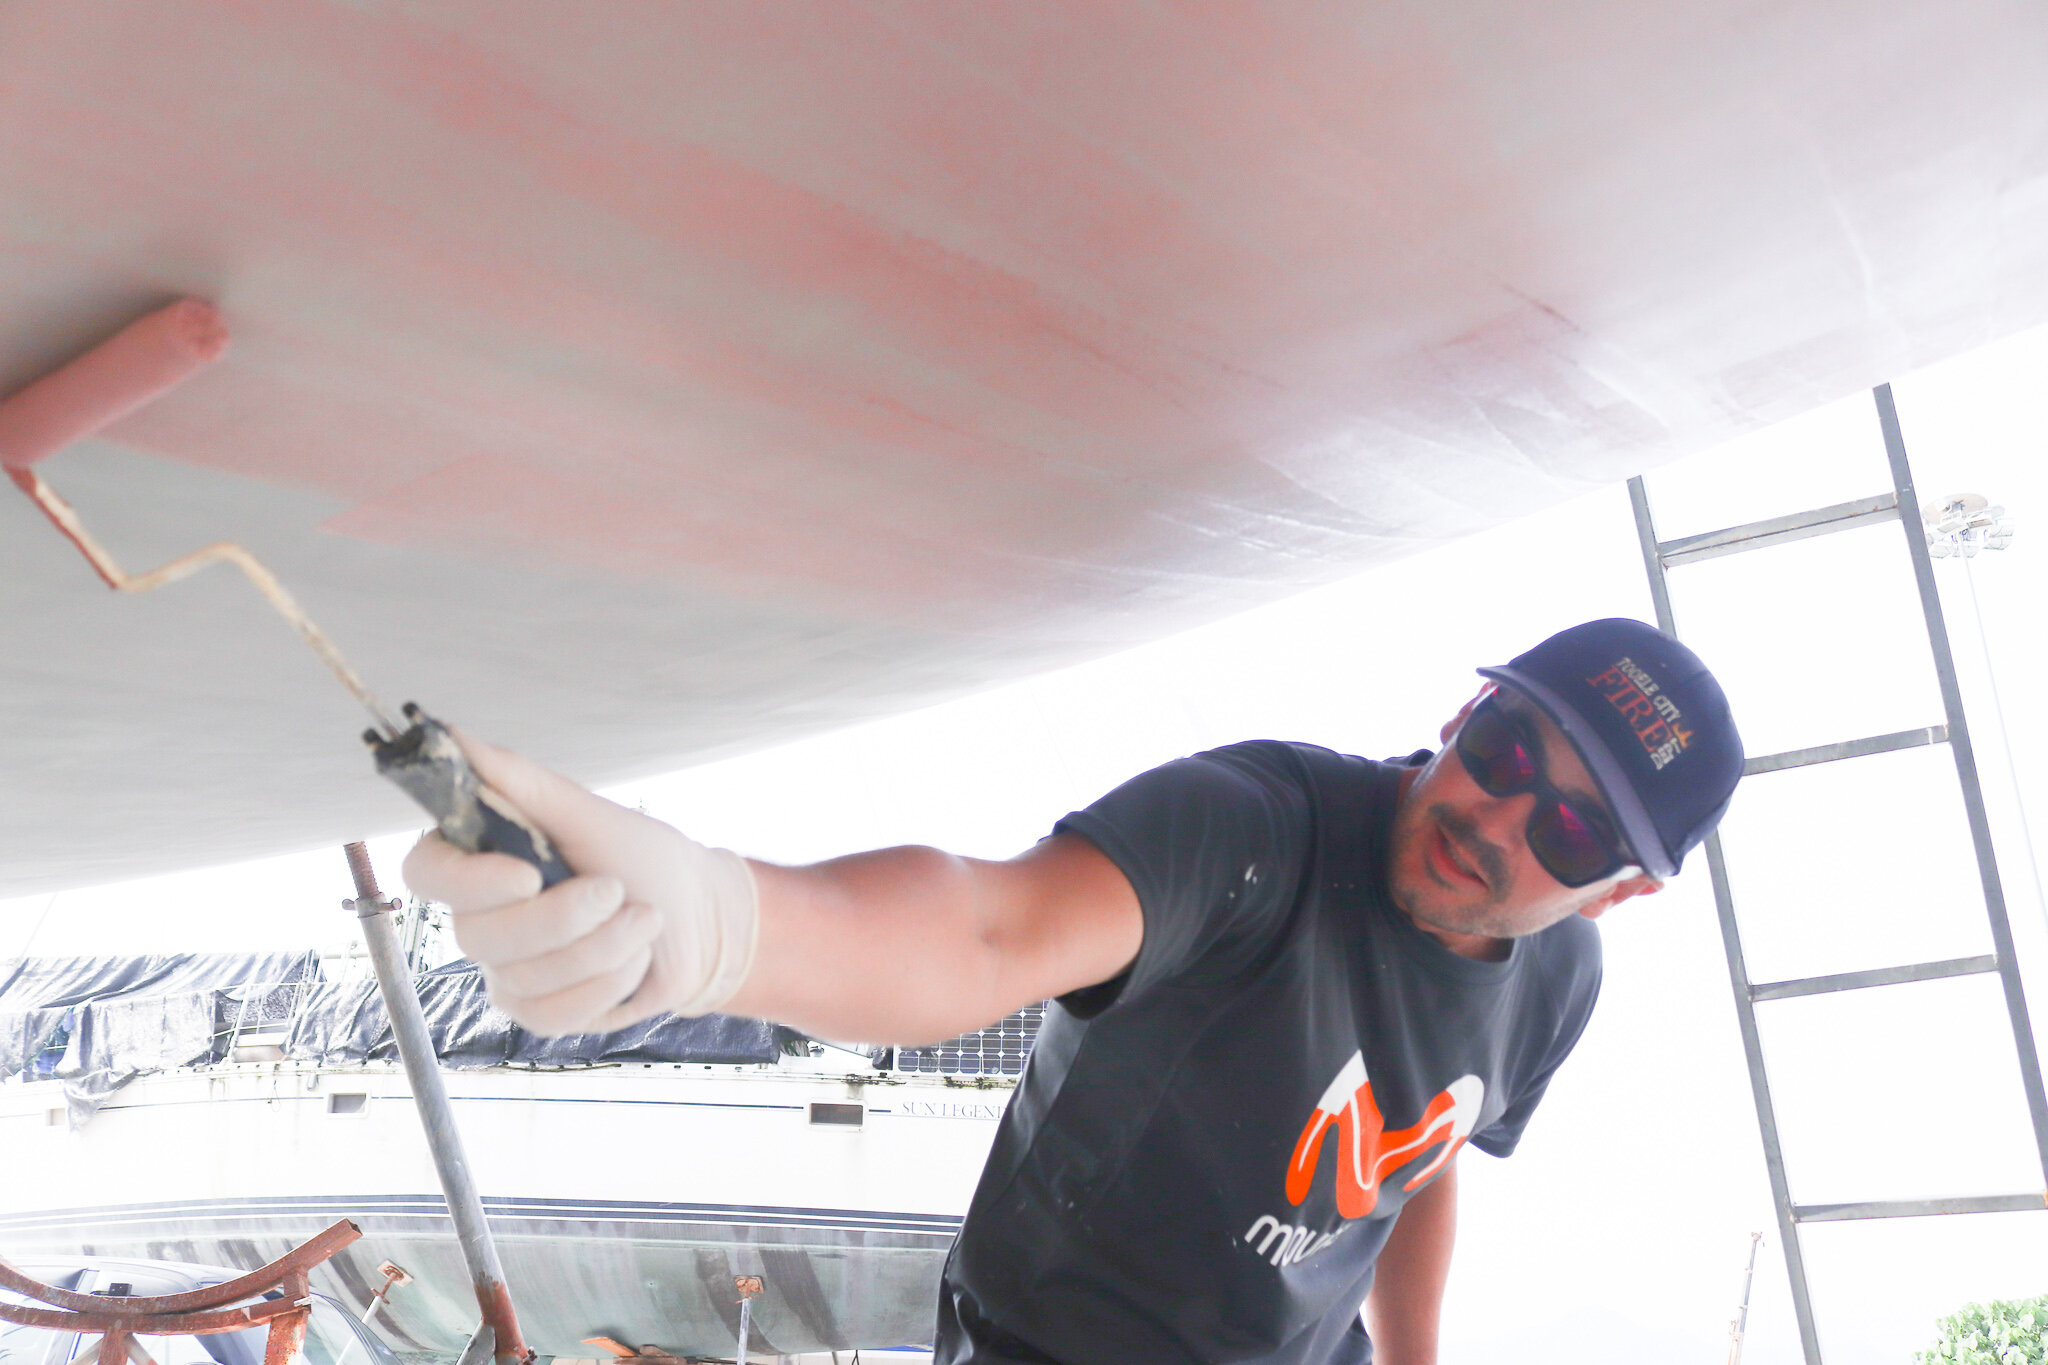
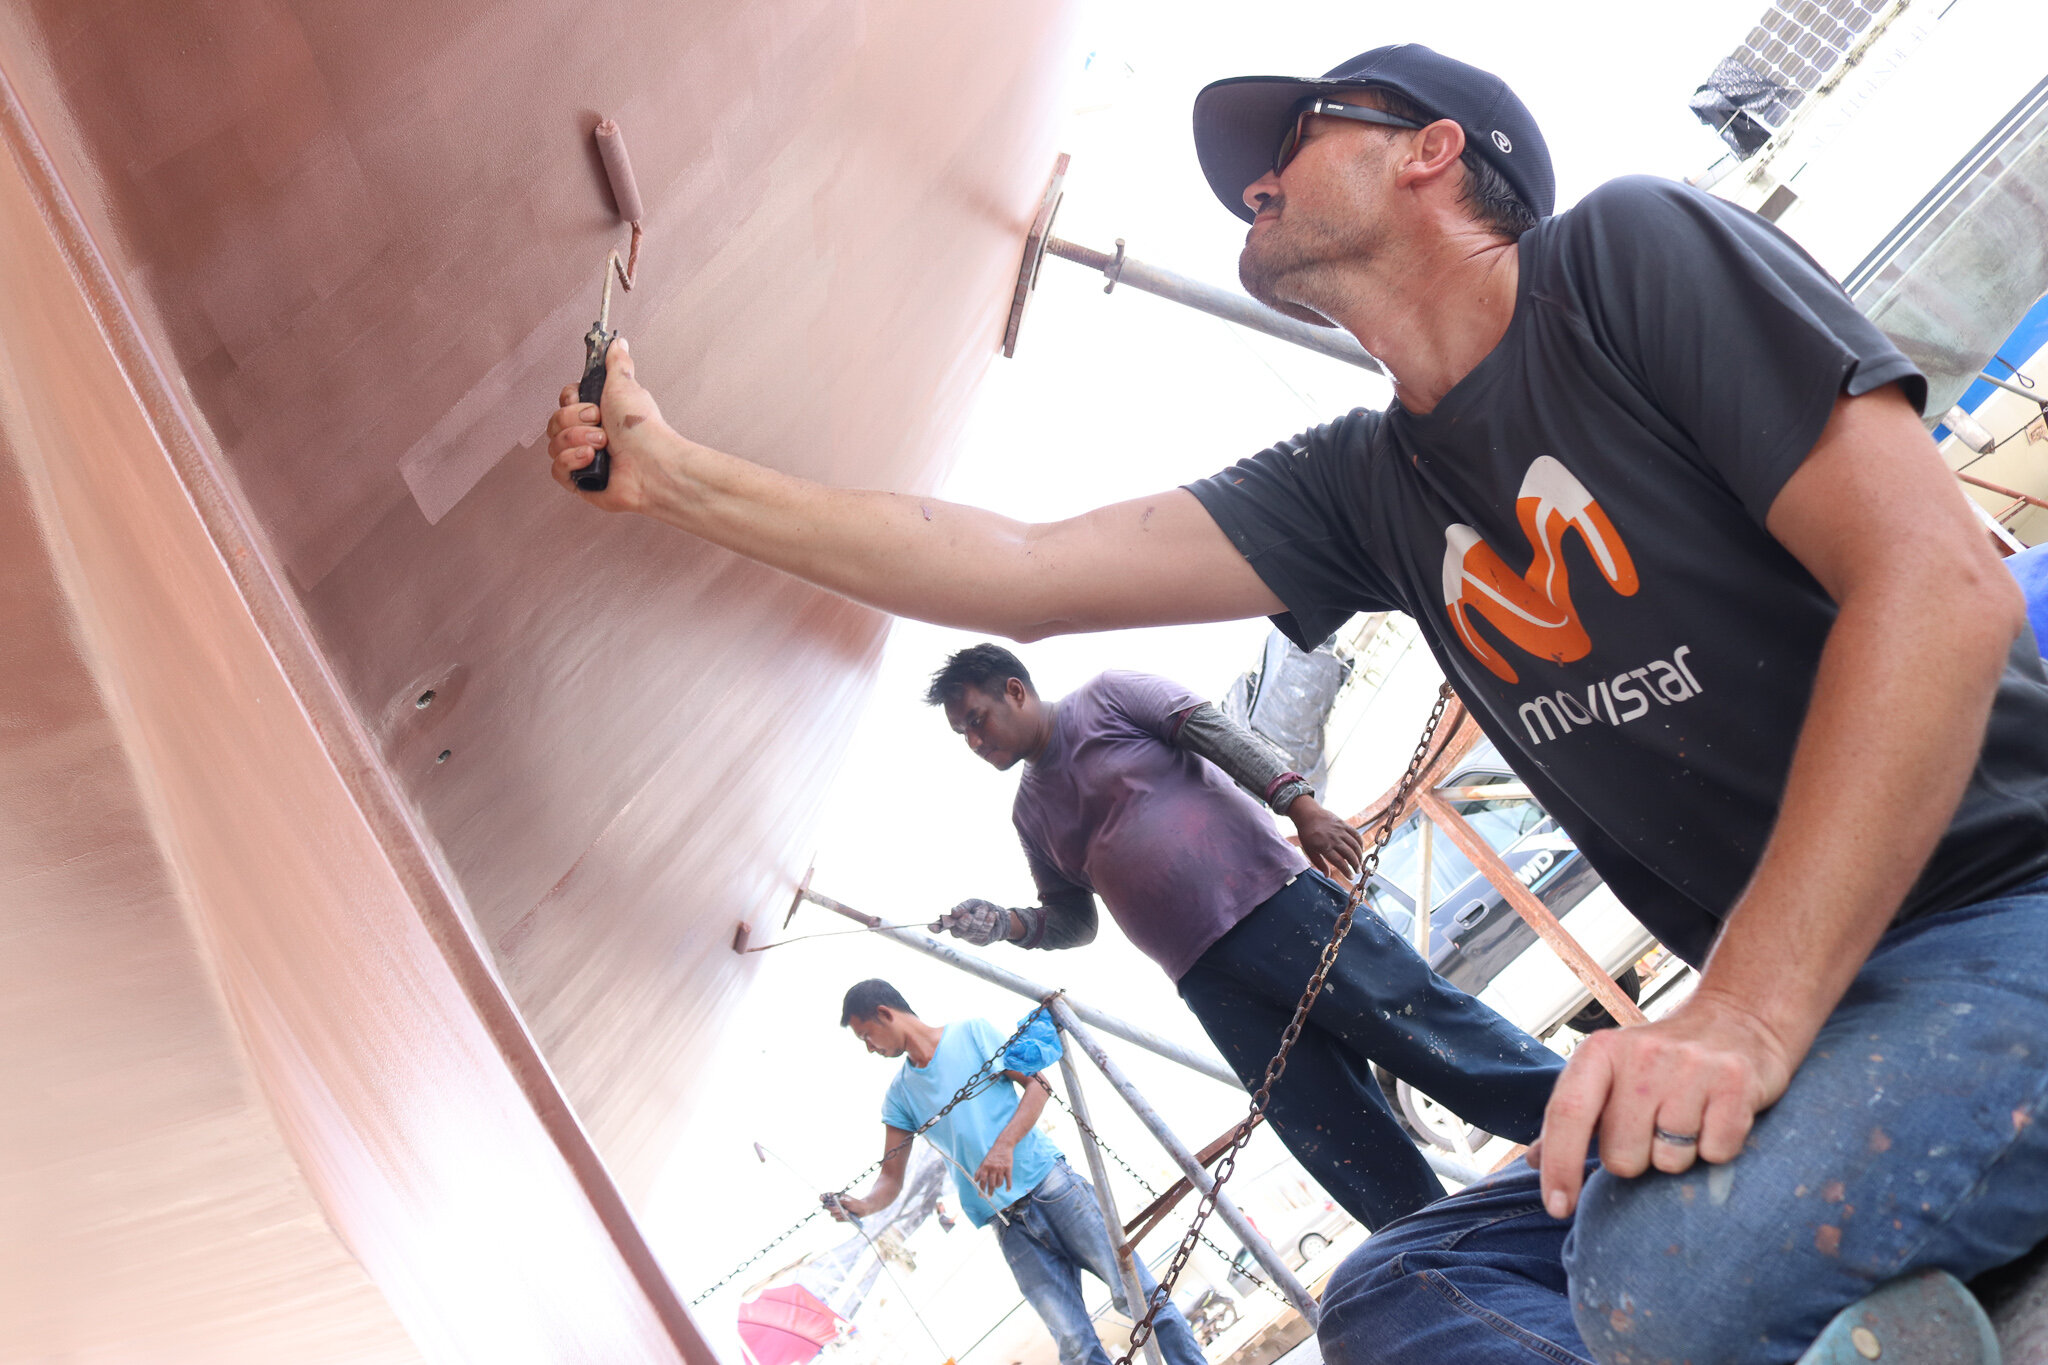
Sonrisa (Valiant 40) required 11 kits to complete full coverage. We used 10 kits on the main paint job and reserved the 11th to do the patches under the stands and the bottom of the keel. We hired three additional workers so there were 4 people painting including Andrew and with the high equatorial temperatures, that was a minimum that would have worked.
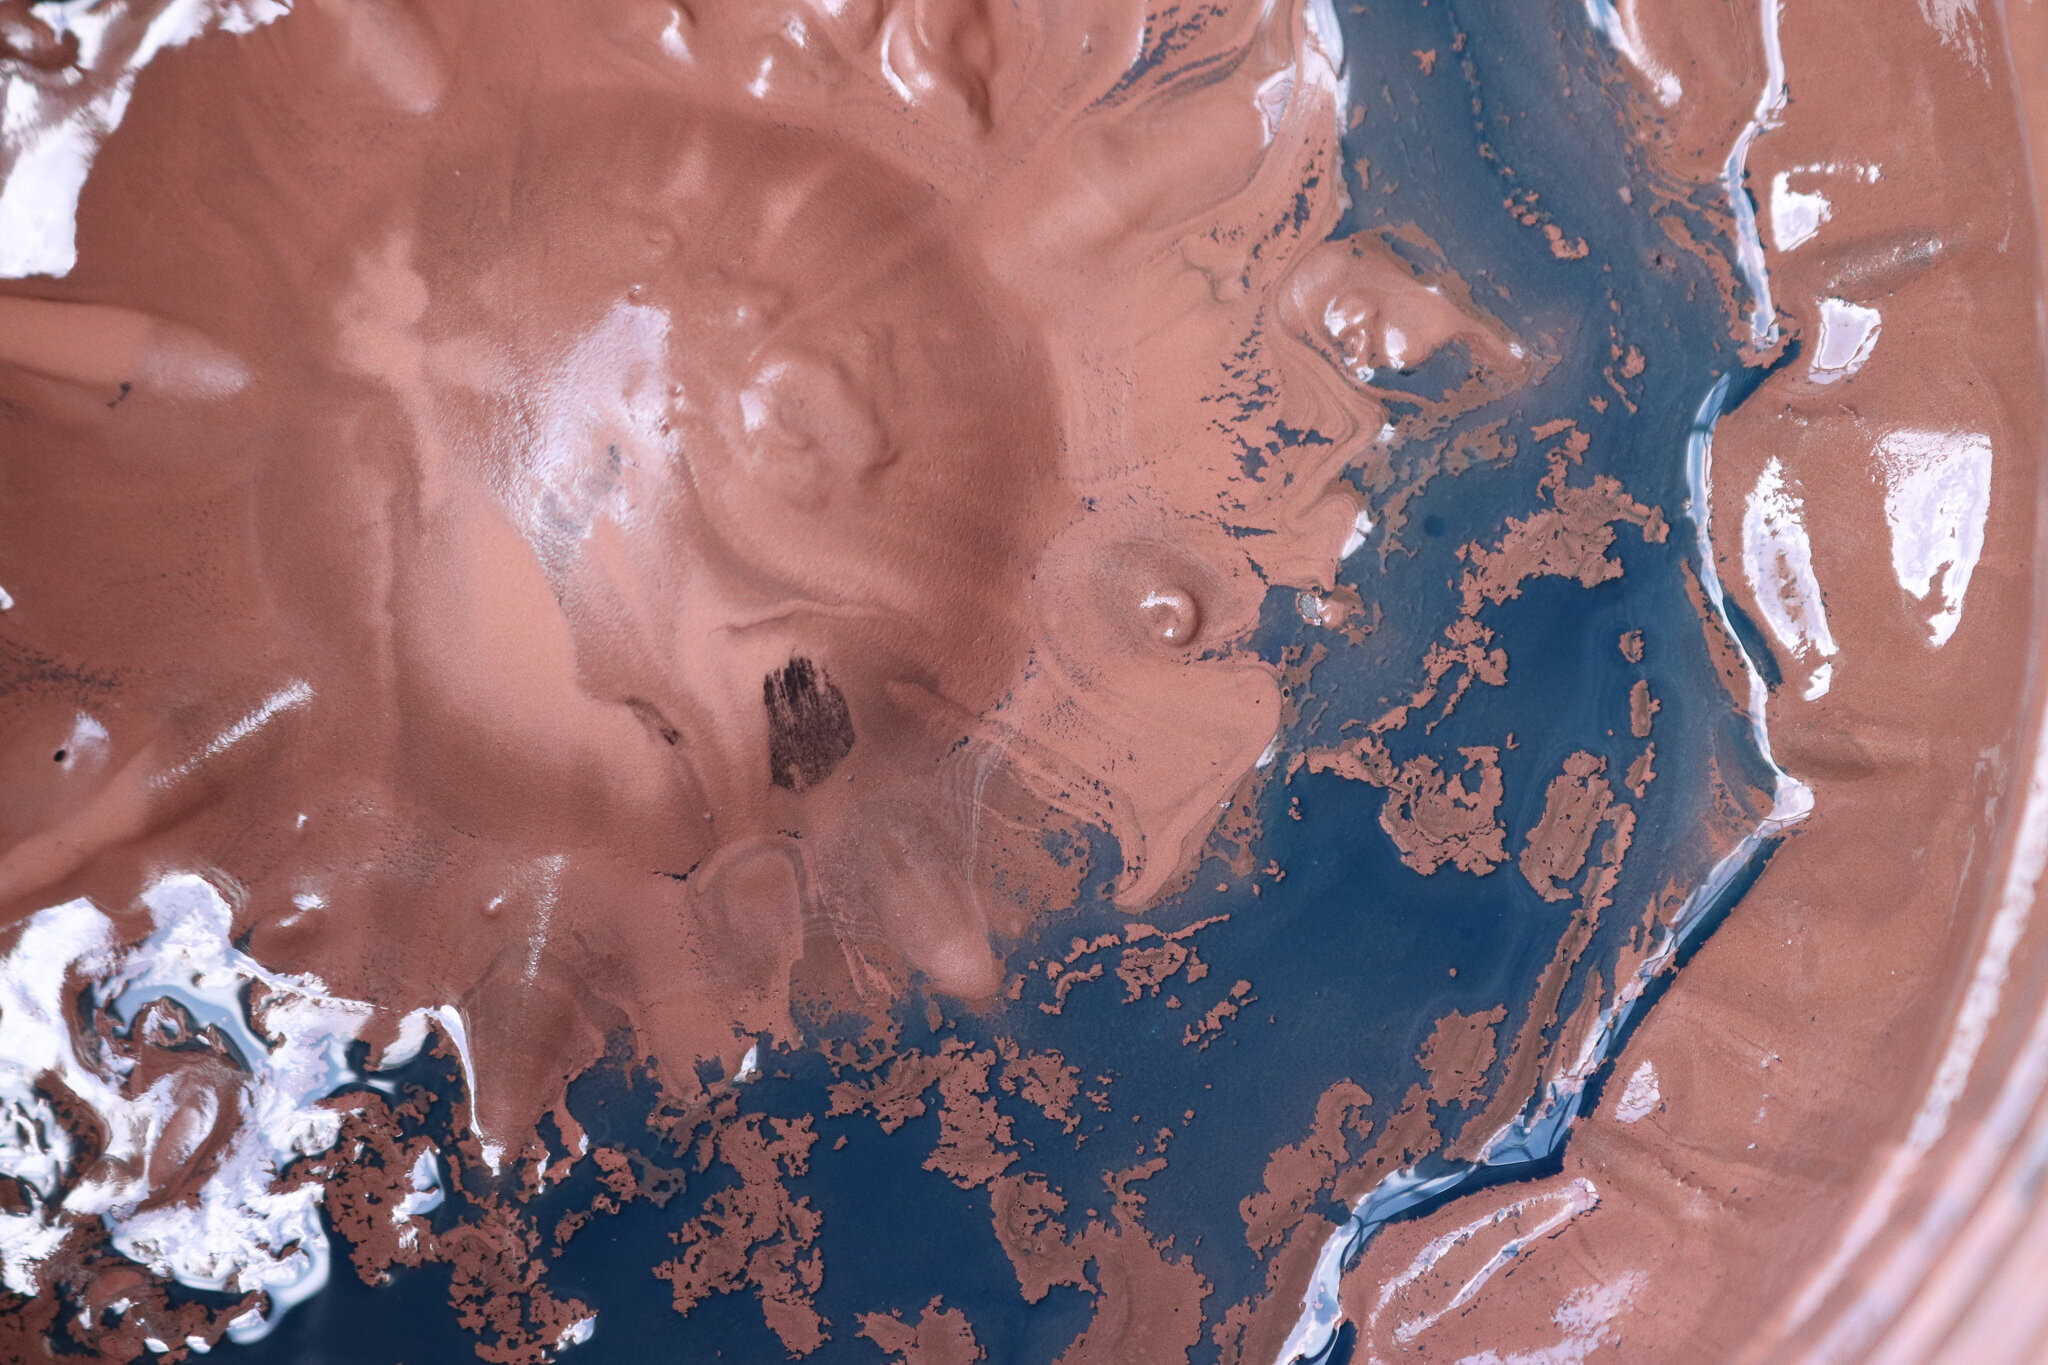
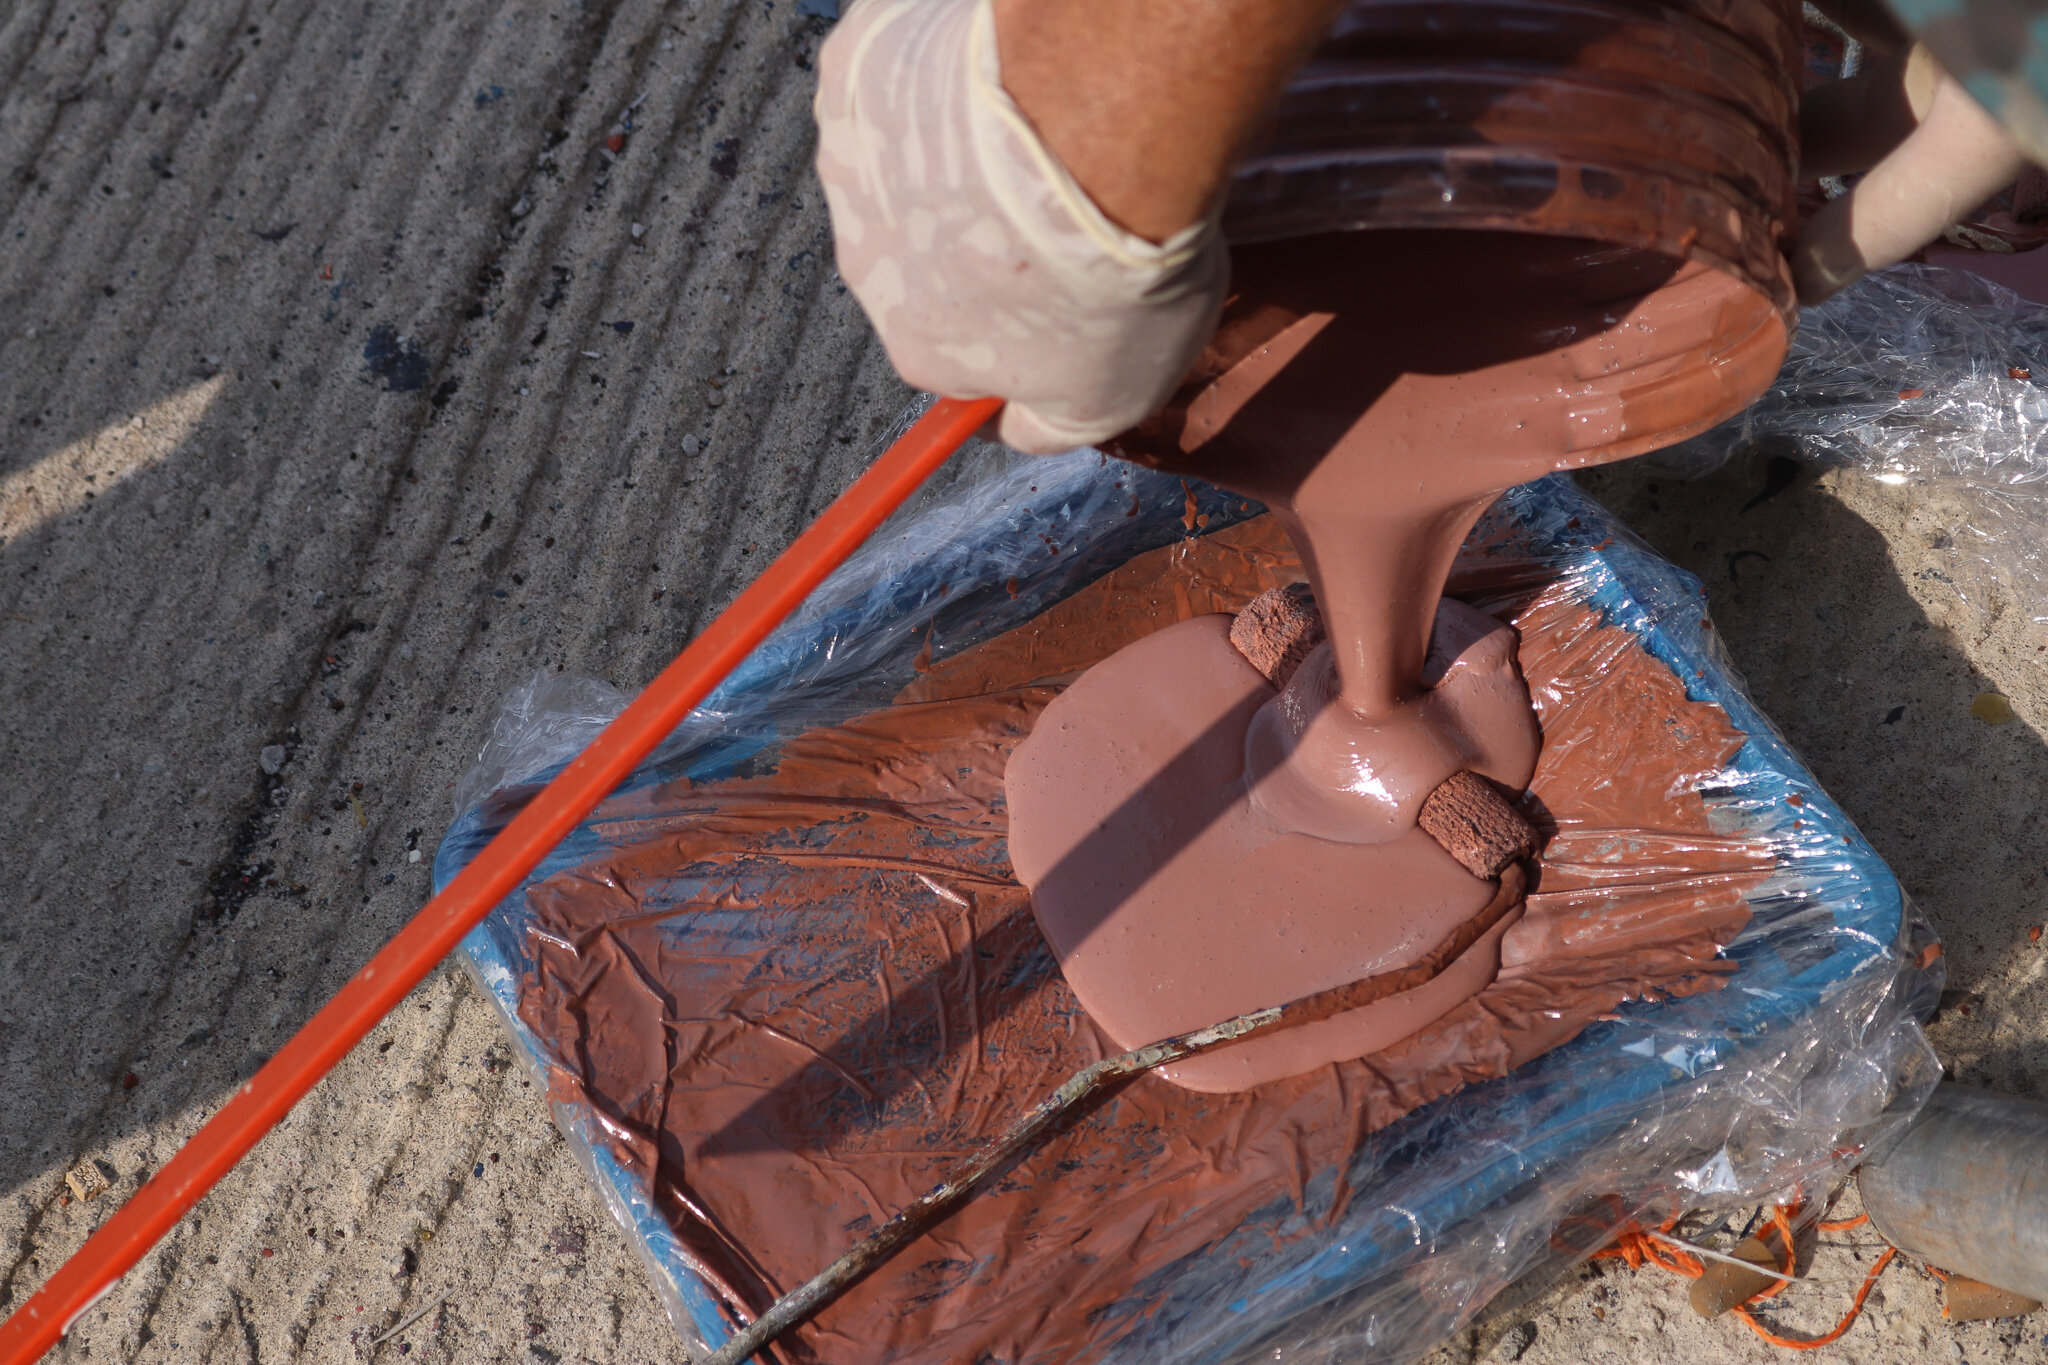
It had not rained for two days previous and the ground was dry in the morning that we started. We would mix up one kit at a time and divide it among the four painters with a little left over, lots of stirring to bring the copper powder dust into solution. It is important to mix the paint well in the first place, and to also keep it agitated in the paint pans so that the copper dust always remains in solution and applies evenly. We added three cap fulls of isopropyl alcohol to the mixture to thin it per Copper Coat’s instructions, but with how hot it was we probably should have doubled the thinning agent. Thinning the paint helps the painters to roll the paint to a smoother finish. We didn't thin the 2nd, 3rd or 4th coats as I didn't think it was necessary for application, but I thinned the 5th coat and I think that almost helped for the final sand.
For each kit, we applied it as fast as we could over one half of the bottom of the boat (port side/starboard side) with a little left over to build up any thin spots. By the time we mixed the next kit and applied it to the other side, the first side painted was already kicking and needed to be painted. We had one little shower of rain that brought up the humidity so we took a quick lunch break of 30 minutes to let that dry, but that was nearly too long. You must complete the sequential coats while the paint is still tacky.
We painted an extra coat on the waterline on the 5th coat and final coat. This created a stripe, and it is slightly visible. More of an aesthetic issue, but I think it may have blended in better if we did the extra coat on the water line between the 4th and 5th regular coats.
Coverage to Keep Dry
Once painted, we covered the boat with tarps and installed “gutters” using tape in strategic places to try to guide any rain water away from the hull. It ended up raining in the middle of the night, and our tarps got blown away, but due to the high temperatures, it seems the Copper Coat had already cured, and therefore, was not harmed.
Look at those storm clouds billowing!
Curing and sanding
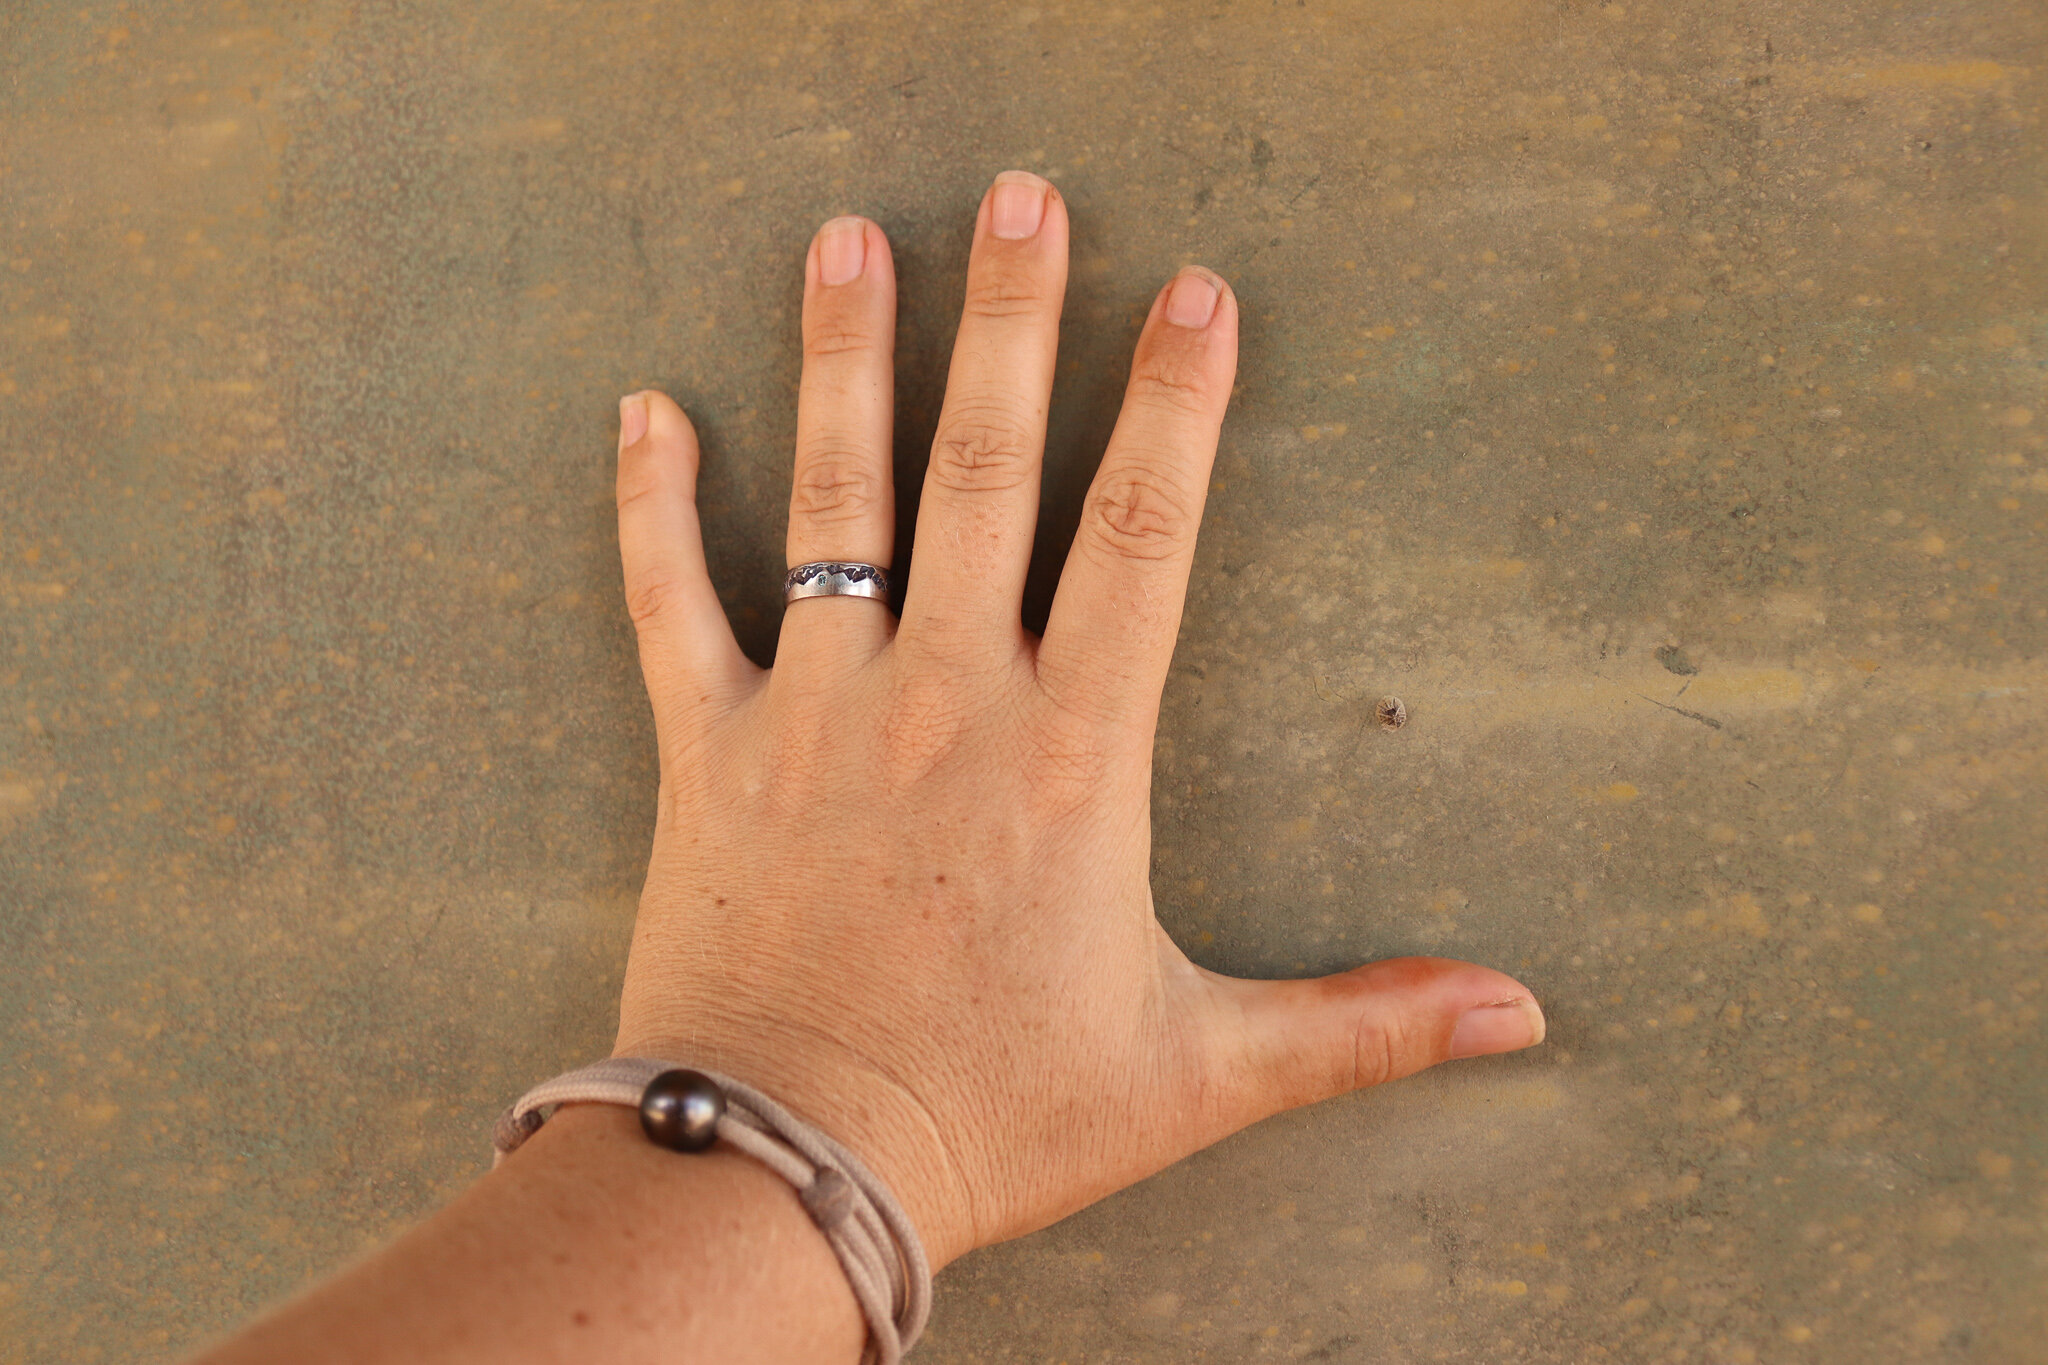
The instructions for Copper Coat indicate that you should complete a “light sanding” of the entire hull with 320 grit sand paper after three days’ cure period. But even after only 24 hours of curing, we could only get a one square food patch sanded before needing to replace the paper. We switched down to 240 grit, but still used up 2 meters of paper! It took 16 man hours of sanding even with the more aggressive grit to get to the spec picture recommended by Copper Coat.
We are developing a theory that one of the errors people experience with Copper Coat has to do with the cure period in high temperatures and sanding instructions. All the instructions are written for a cold English summer, with no modifications for changes in weather in tropical areas. We are fairly certain our Copper Coat was nearly fully cured by 7PM the same night we painted. When Andrew rubbed his fingernail across the finish, it would file down the fingernail, rather than have his fingernail leave a mark! As a result, we had to sand much more vigorously to get the copper exposed through the epoxy than we would have, had we sanded at an earlier time in the cure process.
Because of this need for more vigorous sanding, one of the workers burned through the paint in a couple places. We repainted/repaired those when Andrew did the patches under the stands, not a big deal. It is painful after all the effort of putting the stuff on to sand some of it off, but we believe it is this sanding process, particularly in hot tropical applications, that makes the difference between a failed and good job.
Outcome
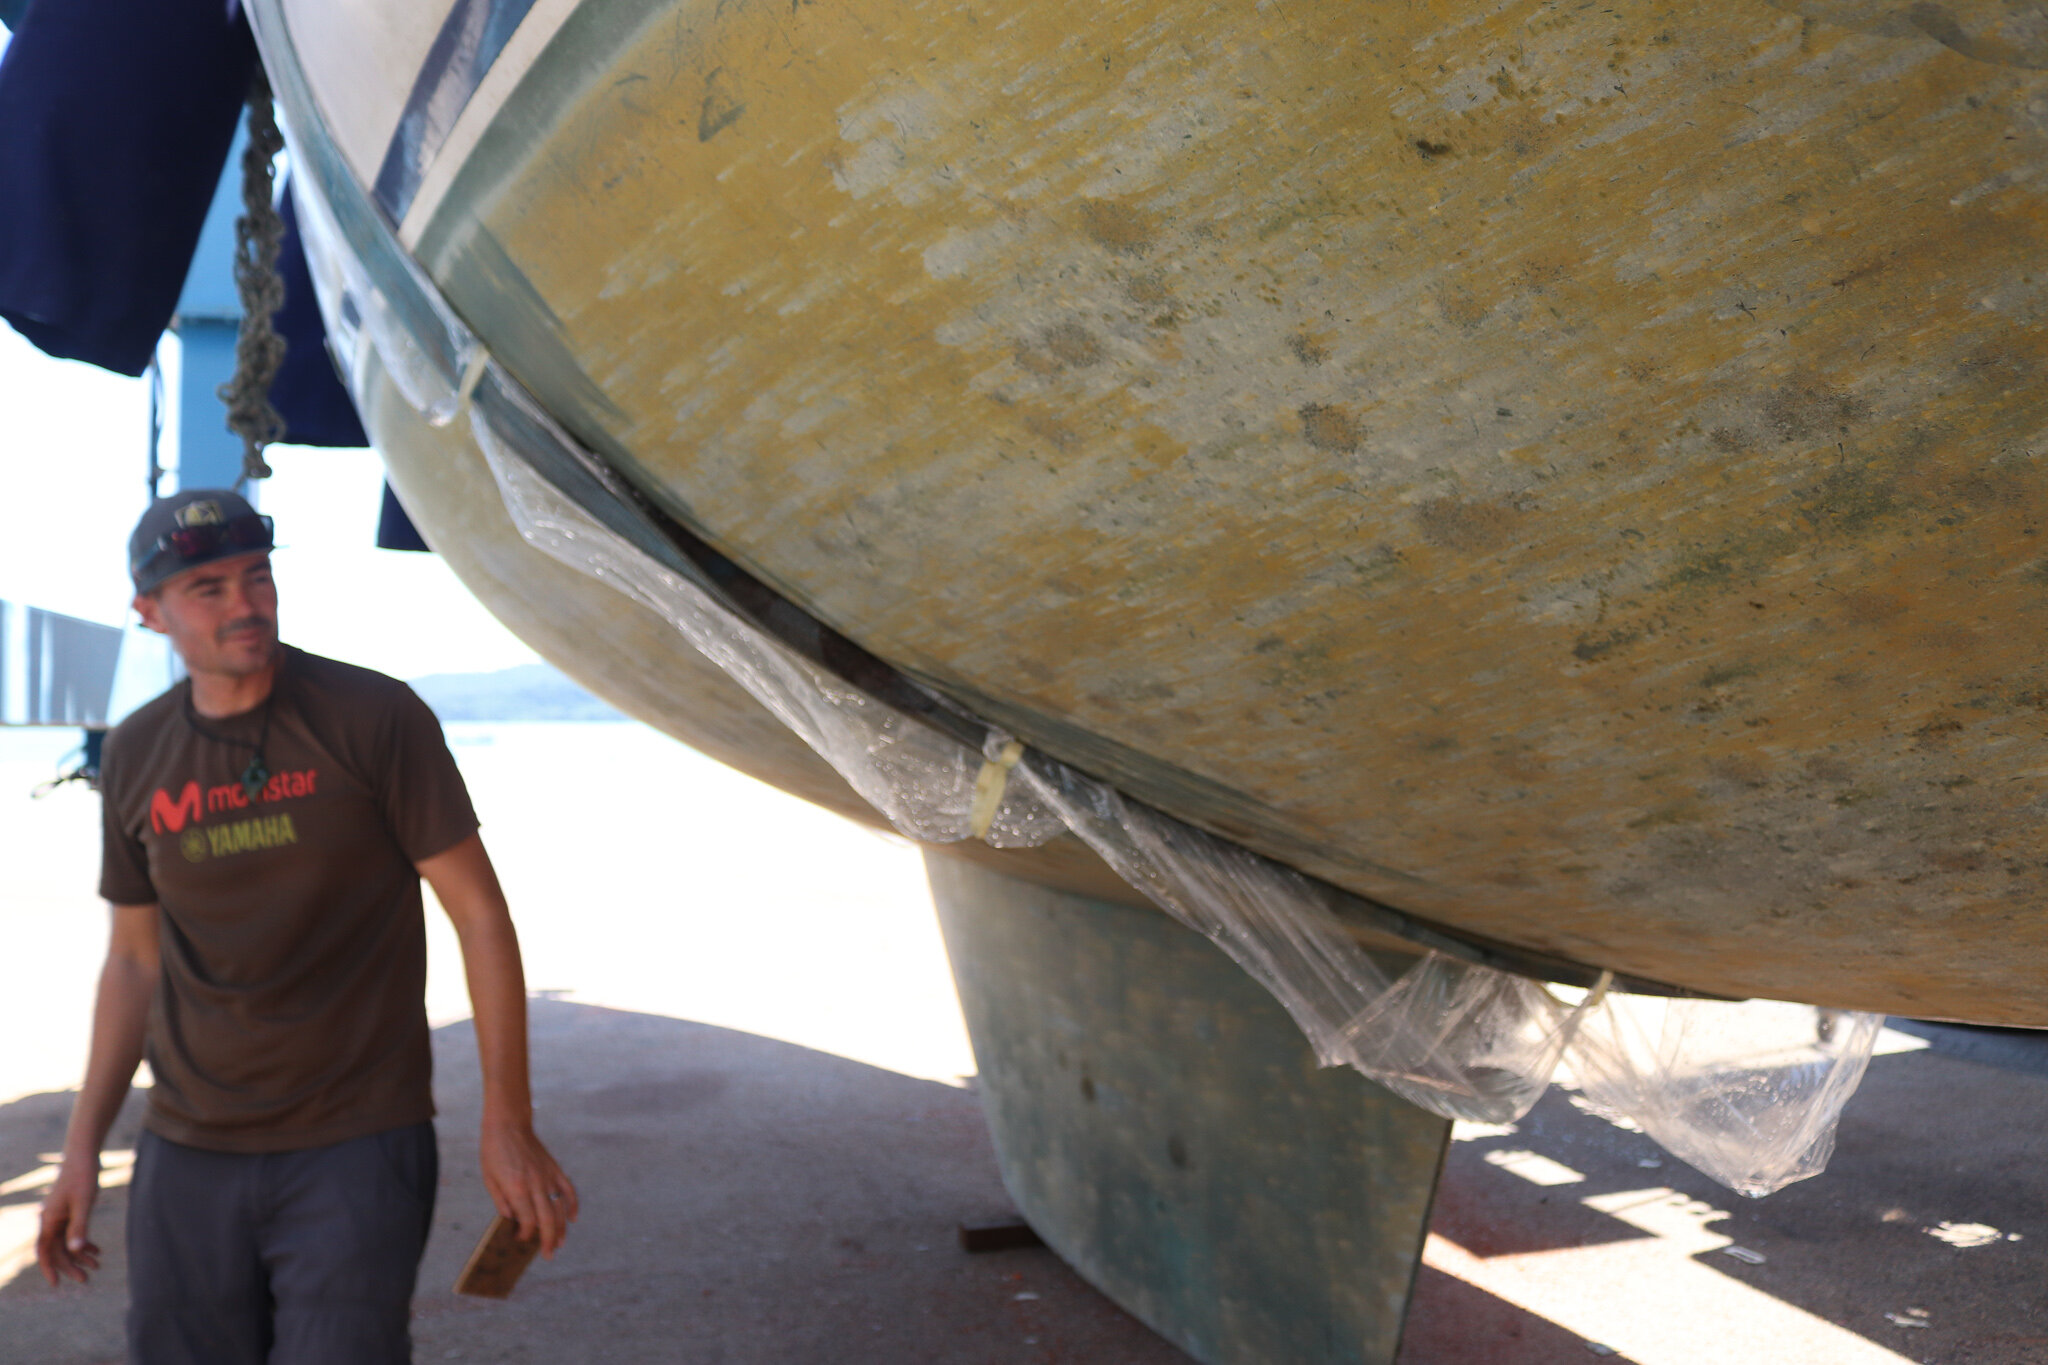
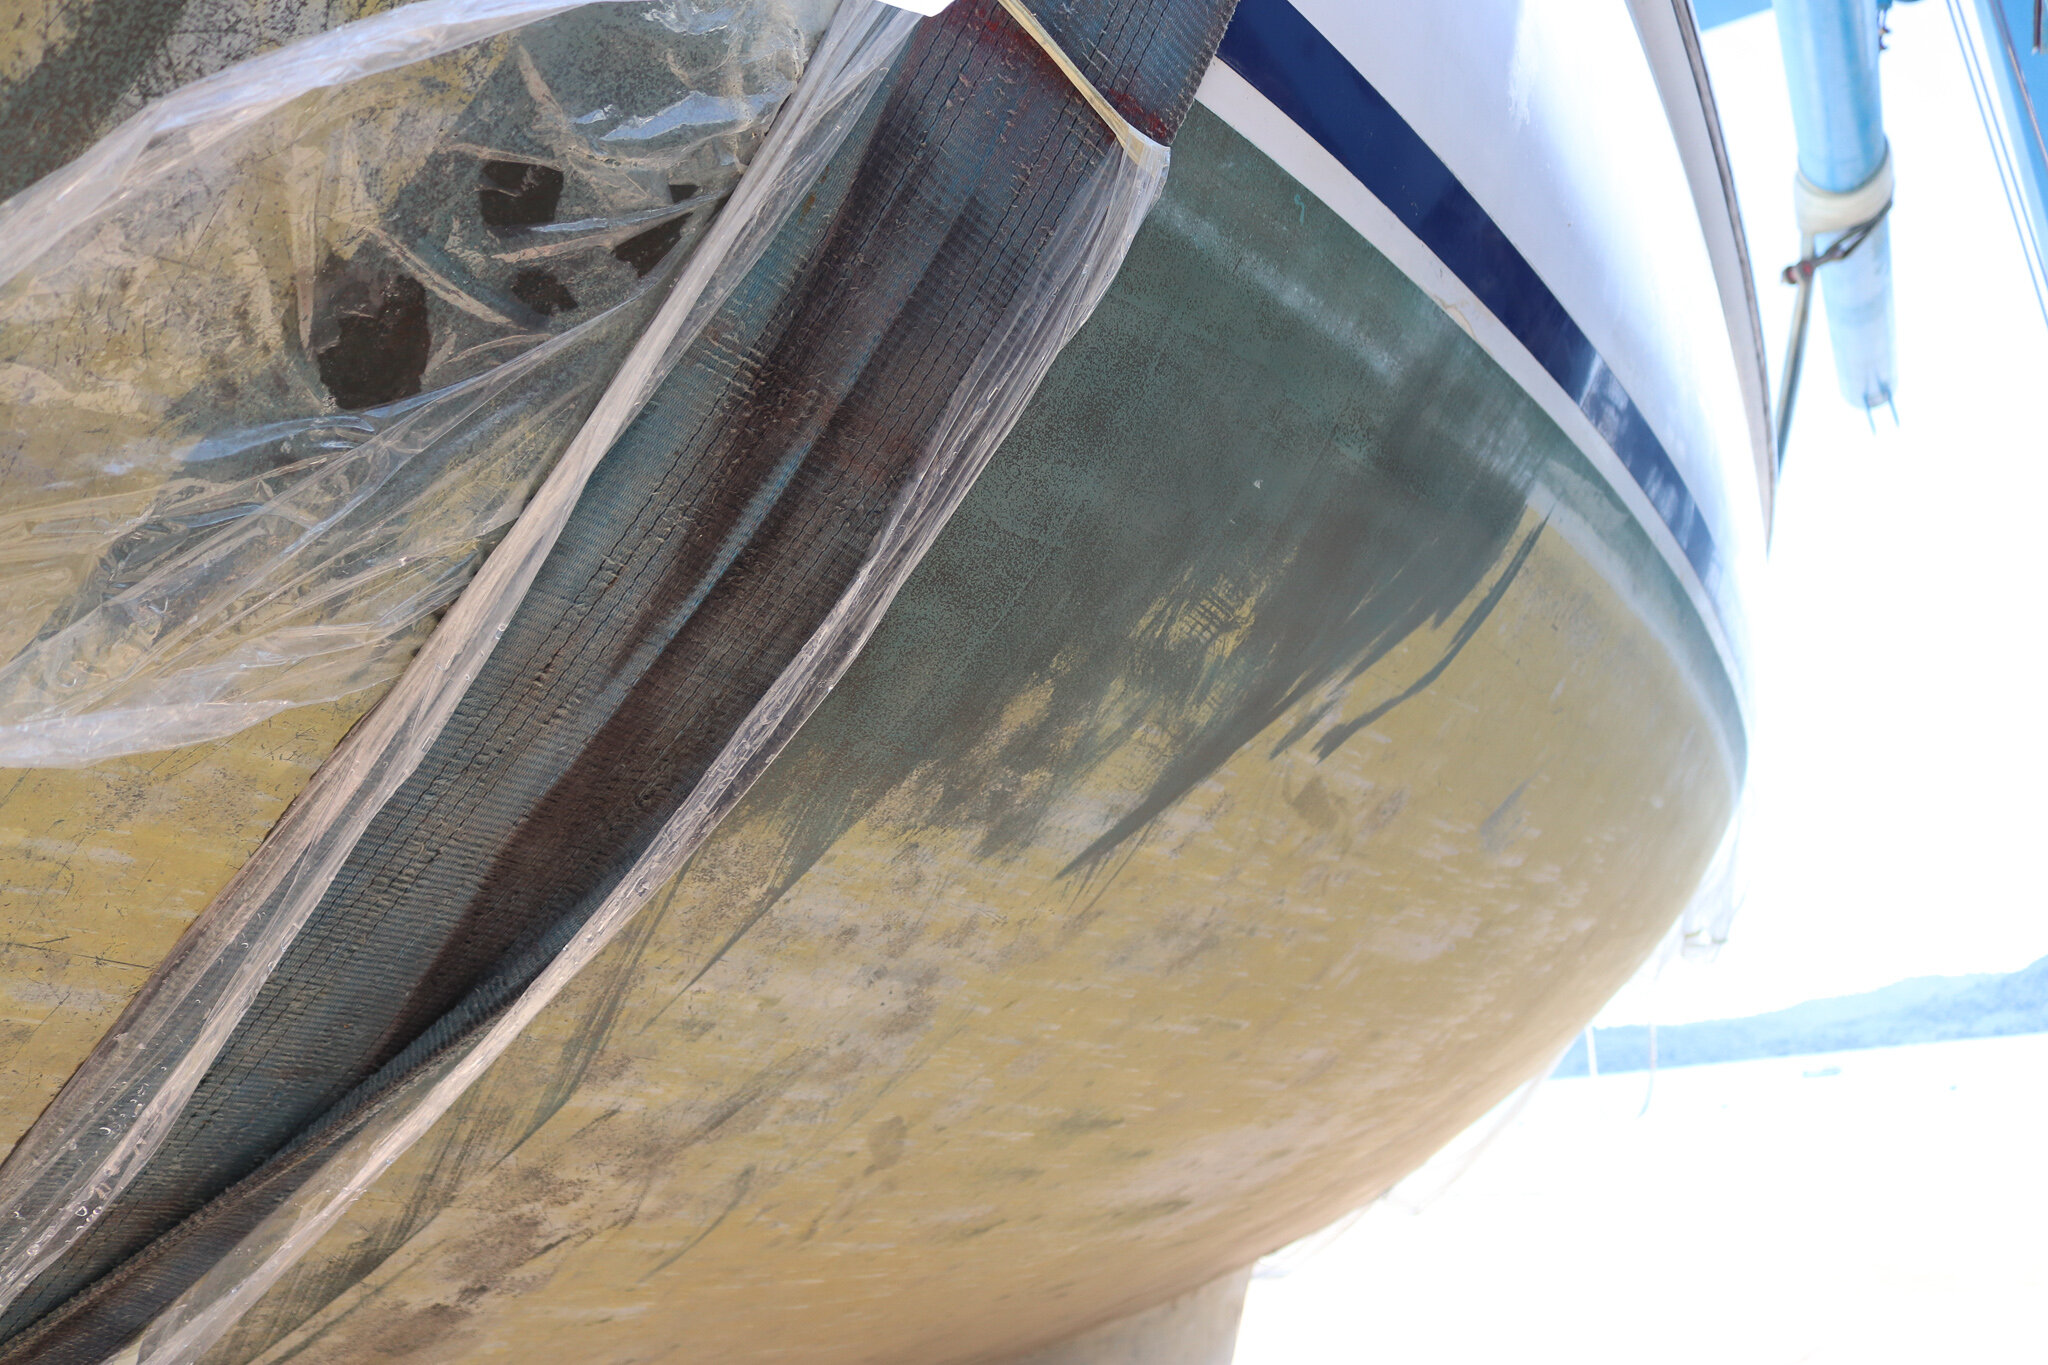
We put Sonrisa back in the water on August 27, sailed around Malaysia and Thailand, then hauled her out again on October 30. I did not clean or touch the bottom in that span of time in order to get a good test of what the Copper Coat would do. Once we hauled out, after two full months of sailing very fertile, tropical water with no cleaning, there was a soft algea film developing over the whole of the hull and only ten small barnacles (smaller than the size of a thumbnail) scattered in various places across the hull. Both the soft algea film and the small barnacles came off with a light brush with a sponge. You can see in the photos below, even just the movement of the haul out slings rubbed off the algea where it contacted the hull.
Comparison to unpainted surfaces showed significant growth on the unpainted sacrificial hull zinc, and I had to scrape my propeller and prop shaft weekly to keep growth down on those unpainted surfaces.
This UNPAINTED zinc is about a half inch thick with millions of small, hard barnacles stuck fast.
This performance is equal to or better than any soft ablative application we’ve done in the past. I would not expect any paint to keep a purely clean bottom for over two months with no cleaning in waters as fertile and warm as Malaysia/Thailand.
Cost For Preparing the Boat and Applying Copper Coat
$1,300 in labor to remove 10+ layers of soft ablative paint and old epoxy barrier using chemical removers and sanding for the last two layers. (Two weeks, two men at $80/day)
$150 for chemical paint remover
$50 in materials for new epoxy barrier coat
$320 for two painters, two 8 hour days to apply epoxy barrier coat
$1,500 for 11 kits of Copper Coat Paint ($136.00 per kit)
$240 for 3 extra painters, 8 hour day
$160 for 2 extra sanders, 8 hour day
$100 for tape, plastic tarp, rollers, isopropyl alcohol, and paint trays
$100 for sand paper (we went through a LOT of sand paper!)
Total: $3,920*
*This total does not include haul out or yard stand fees, as I have lumped those costs into my greater refit figures. If you were hauling out in Malaysia, Langkawi at B&V Marine, you could add $170 for haul out and $0.29 per foot/per day for yard stand fees. The Copper Coat Process itself took about three weeks to complete, so yard stand fees cost approximately $250.00 for the three week Copper Coat Process.
*This total also does not include any costs to repair osmotic blistering beneath the barrier coat if any is found. Sonrisa had minimal osmotic blistering, so we do not have significant figures for that process.


